
In this article, will learn how to design and configure a custom prototype cell and show some real-time data on the Tableview using the Custom prototype cell.
Before starting I assume you have some basic knowledge of TableView and how to create and use default prototype cells. If not then have a look at my previous article on basic prototype cell implementation.
Let’s start.
Create New Project
Create a new project and select platform iOS, select application type App and click on next.

For the Product name enter "TableView-Custom-Prototype" enter the organisation identifier and select language to Swift and choose Next.

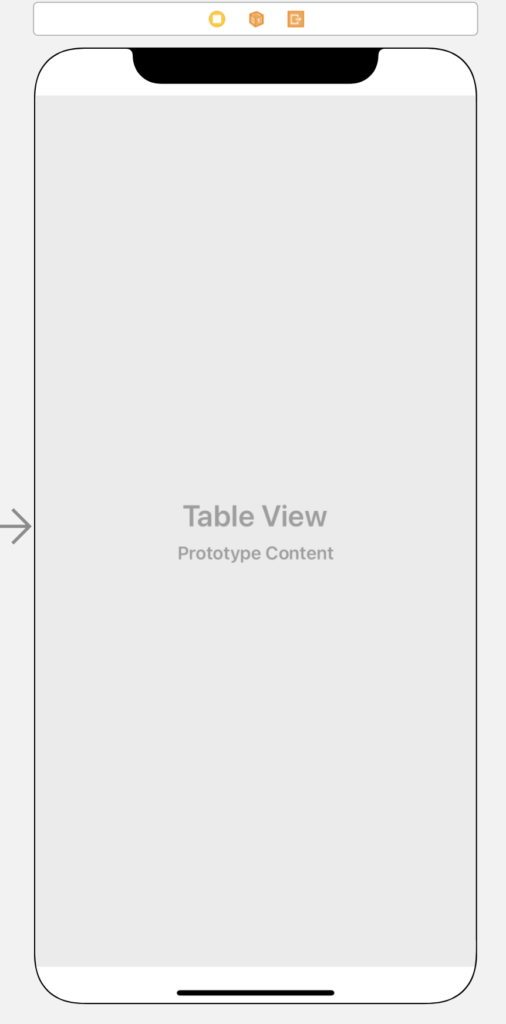
Now select main.storyboard, add TableView into ViewController and set top, bottom, left and right constraints to 0 after that set TableView delegate and data source and create an outlet of TableView.
Design Custom Prototype Cell
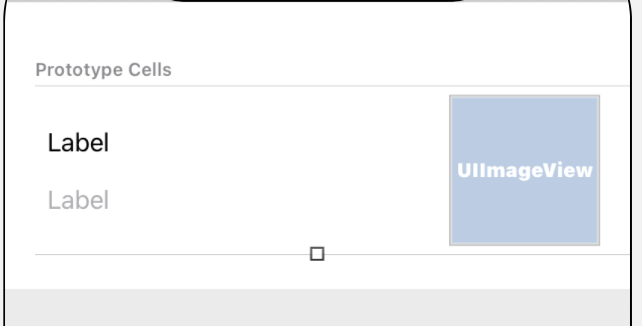
Now add a prototype cell TableView and set a reusable identifier to "customprototype".

It’s time for some custom design, add two labels and an ImageView in the Prototype cell and place as per below. Add proper constraints to both Labels and UIImageVIew to handle any disparity in visibility.
If you don’t have enough knowledge on how to add Auto Layout constraints. Let me know in the comment section, I will create a post dedicated to Auto Layout constraints.
After adding Auto Layout constraints It’s time to configure UITableViewCell. First of all, need to assign a tag to each UIElement so we can access all elements through UITableViewCell.
Open Attribute inspector, In the View section, set tag to 1 for Title Label as per below.

Set View tag 2 to detail Label as per below.

Finally set View tag 3 to ImageView as per below.

Custom Prototype Cell Configuration
Now it’s time for some real code, Open ViewController.swift file. We need some data to display in TableView So create an array as shown below.
var mcuMoviesList = [String]()Now add some MCU movies list as per MCU Timeline in declared array.
mcuMoviesList = ["Captain America - The First Avenger", "Captain Marvel", "Iron Man", "Iron Man 2", "Thor", "The Avengers", "Thor - The Dark World", "Iron Man 3",]We are not using section in TableView so by-default it’s 1, no need to set numberOfSections(in:)
We also need to determine the number of rows in our Table View. Update the tableView (_:numberOf-RowsInSection:) method as shown below.
    func tableView(_ tableView: UITableView, numberOfRowsInSection section: Int) -> Int {
        mcuMoviesList.count
    }
Now we need to fill UITableViewCell with our MCU movies list data.
The dequeueReusableCell(withIdentifier: for:) method returns a reusable cell located by our previously defined identifier. The cell is then filled with the current index of our array, the index is from the index path of the Table View.
let tableViewCell = tableView.dequeueReusableCell(withIdentifier: "customPrototype", for: indexPath)
Now we need to access all the UIElement we have added to the prototype cell with Tag.
Let’s get titleLabel first with tag 1 as shown below.
let titleLabel = tableViewCell.viewWithTag(1) as? UILabel
Now get detailLabel with tag 2 as shown below
let detailLabel = tableViewCell.viewWithTag(2) as? UILabel
After that get imageView with tag 3
let image = tableViewCell.viewWithTag(3) as? UIImageView
Now it’s time to fill data to the TableView cell.
First of all set value from mcuMoviesList to the title label.
titleLabel?.text = mcuMoviesList[indexPath.row]
After setting the Title, please set the detail Label as shown.
detailLabel?.text = "description goes here"
Now set the Movie poster as shown below
image?.image = UIImage.init(named: mcuMoviesList[indexPath.row])
Finally, return the fill Cell for the indexpath shown on TableView.
return tableViewCell
Now build and run the app, All the MCU movie lists are shown in TableView with Poster.

It’s your task to show some detailed descriptions about movies instead of “description goes here”.
Summary
You can find the full source code for this tutorial here.
Thank you very much for your precious time.
Hope you guys enjoy it.
Let me know your thoughts in the comment section.
Extend your knowledge
- Property Observers in Swift
- TableView: Basic Implementation in Swift
The Twitter contact:
Any questions? You can get in touch with me here


2 thoughts on “TableView: Custom Prototype Cell Implementation”