
TableViews in iOS display rows of vertically scrolling content in a single column. Each row in the table contains one piece of your app’s content. To understand TableView in detail I am starting a series on TableView from basic to advance levels.
So In this article, We will discuss how to set up the most basic UITableView and show the genre List in UITableView.
So Let’s get started.
First of all,
Create a new project.
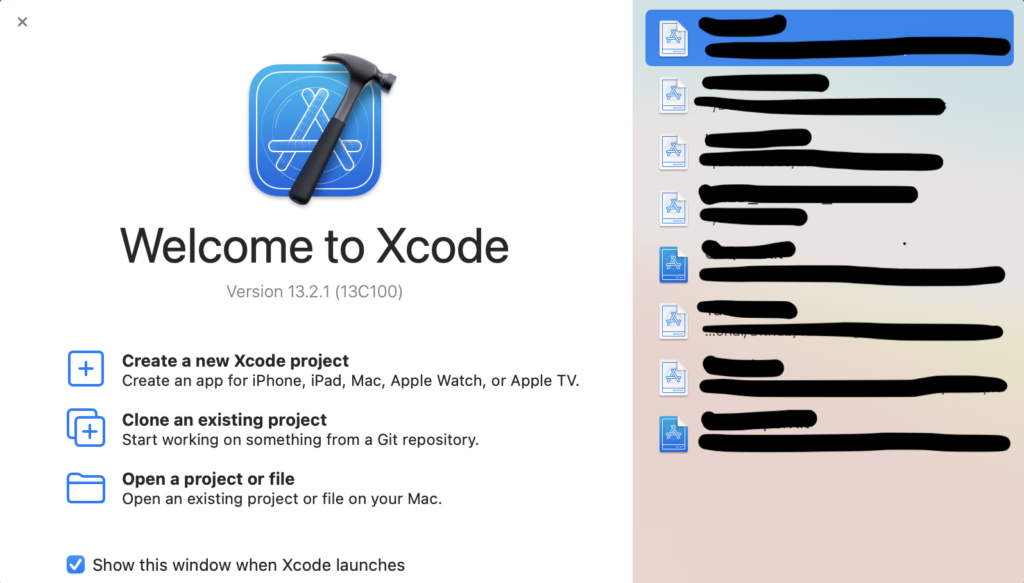
Click on Create a new Xcode project or press cmd+shift+n then this window will open.
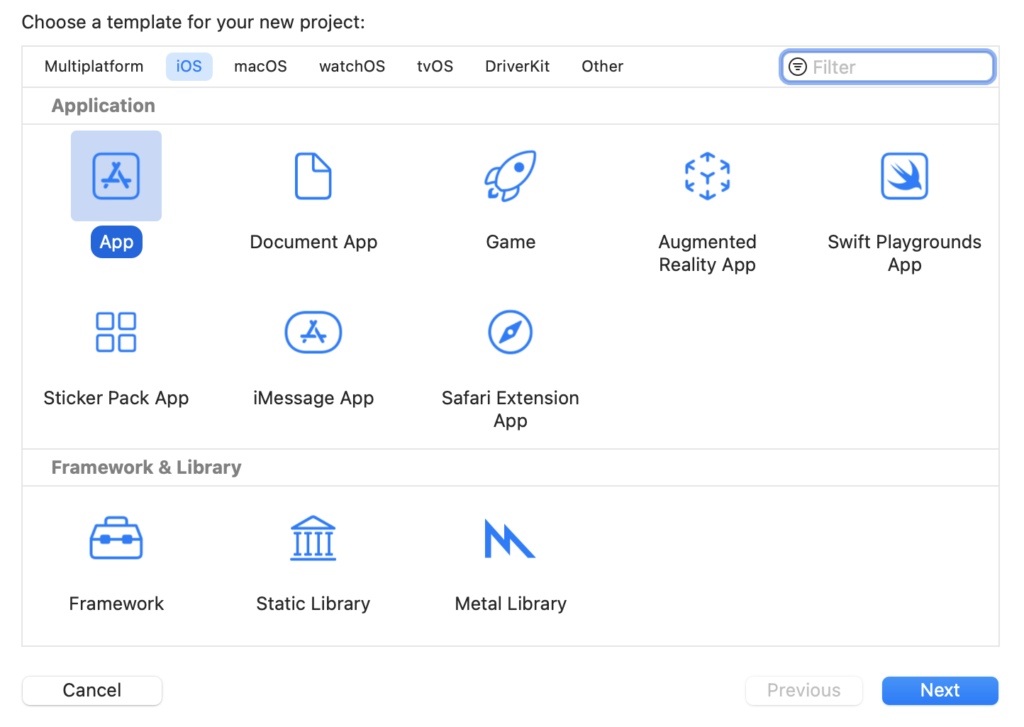
By default iOS platform will be selected, As of now, we are creating our project for the iOS platform click on the Next button at the bottom.
Then Enter the product name in our case it’s TableView-Basic. After entering the product name select Swift in Language: dropdown and then select Storyboard in Interface: dropdown, no worry it’s selected by default but make sure these before clicking on Next.
After That save your project in your system. Now, it’s time to set up TableView.
Set Up TableView
Click on main.storyboard it will open a blank ViewController now we need to add TableView in ViewController.
Click on add Object Library button or press cmd+shift+l it will open Object Library. In Object Library you will find all the available objects(UI Elements).
Then search for TableView then drag TableView into ViewController and add UI Constraints. Add top bottom left and right constraints to 0.
Now it’s time to write some real code first create the TableView outlet open ViewController.swift class either in assistant view or in the new Editor window as shown below and create an outlet for TableView.
@IBOutlet weak var genreListTableView: UITableView!Configure TableView DataSource
Now it’s time to set Tableview delegate and datasource to ViewController as shown below.
Confirm UITableViewDelegate and UITableViewDataSource as shown below in ViewController.swift
class ViewController: UIViewController,UITableViewDelegate,UITableViewDataSourceAfter Confirming the TableView delegate and data source some errors occurs because we need to implement the required delegate and data source method.
So we need to add numberOfRowsInSection and cellForRowAt in ViewController.swift
For this, you can either define the below methods yourself or just click on the suggestion provided by Xcode so Xcode will automatically add the required methods.
    func tableView(_ tableView: UITableView, numberOfRowsInSection section: Int) -> Int {
        // code goes here
    }

    func tableView(_ tableView: UITableView, cellForRowAt indexPath: IndexPath) -> UITableViewCell {
       // code goes here
    }
Set default or constant number of cells and return an empty cell as shown below.
func tableView(_ tableView: UITableView, numberOfRowsInSection section: Int) -> Int { 4 }func tableView(_ tableView: UITableView, cellForRowAt indexPath: IndexPath) -> UITableViewCell {UITableViewCell() }
This will not be the final implementation, we will be updating this soon, but this will prevent warnings from showing in Xcode.
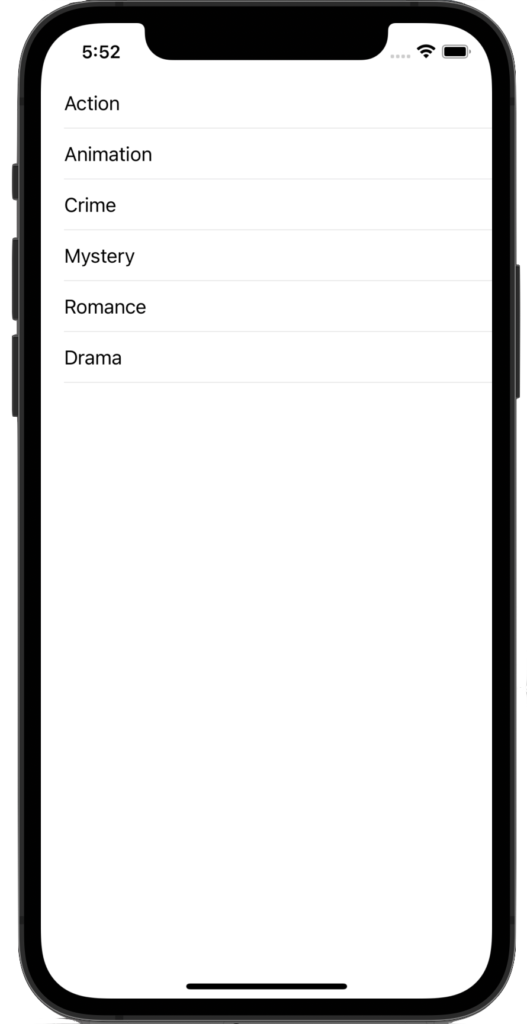
Now we need some data which will be shown in genreListTableView. I am creating an array which contains a genre list.
let genreList = ["Action","Animation","Crime","Mystery","Romance","Drama"]
It’s time to update the previously added UITableViewDataSource.
func tableView(_ tableView: UITableView, numberOfRowsInSection section: Int) -> Int {
     genreList.count
}
Now it’s time to configure cellForRowAt and return a valid UITableViewCell which shows the genre name. To show valid UITableViewCell initialise a UITableViewCell as shown below.
let genreCell = UITableViewCell.init(style: .default, reuseIdentifier: "genreListCell")Initialise UITableViewCell with default style and set reusable identifier to genreListCell. Now the question arises why do we need a reusable identifier? we will discuss this letter in this article.
After Initialise genreCell configure the textLabel as shown below.
genreCell.textLabel?.text = genreList[indexPath.row]Now return the configured cell which will be shown on genreListTableView.
return genreCellLet’s build and run the app to see how it looks:
Wait wait wait it’s not over there is one problem in your code each time we are initiating a new cell to display genre So In case we have thousands of records to show then it will take lots of memory.
To resolve this problem TableView introduces dequeueReusableCell method which will reuse cell memory.
Replace the above initialisation with the below code then build and run the app.
let genreCell = tableView.dequeueReusableCell(withIdentifier: "genreListCell", for: indexPath)Holy Crap It crashes the app and shows below crash logs, So what are we missing?
Terminating app due to uncaught exception ‘NSInternalInconsistencyException’, reason: ‘unable to dequeue a cell with identifier genreListCell – must register a nib or a class for the identifier or connect a prototype cell in a storyboard’
To use dequeueReusableCell, we need to register a nib or a class or connect a prototype cell in the storyboard.
In this article, we will connect a prototype cell to a storyboard and set a reuse identifier.
Let’s build and run the app to see how it looks:
Finally, our motive has been completed.
Summary
Even though this tutorial was a bit long, adding a TableView to your project is quite easy, and because you will be doing it so often it becomes second nature.
You can find the full source code for this tutorial here.
Thank you very much for your precious time.
Hope you guys enjoy it.
Let me know your thoughts in the comment section.
Extend your knowledge
- Property Observers in Swift
- The best way to distribute Custom Code in Swift
The Twitter contact:
Any questions? You can get in touch with me here


5 thoughts on “TableView: Basic TableView Setup and Configuration in Swift”