
I have created a series of articles focused on TableView this is the third in the series. In this article, we will focus on Custom Cell implementation with the help of XIB(nib).
Before I start have a look on chapter 1 and chapter 2 focused on TableView basic and custom prototype cell implementation respectively.
Let’s get started.
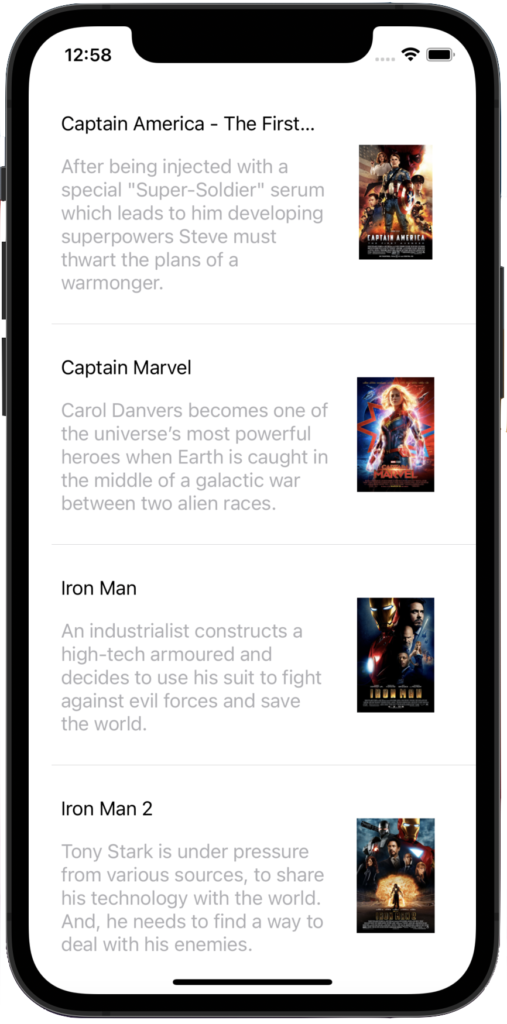
We are create a demo which will display Movies list with movie name, description and poster as shown below.
Create New Project
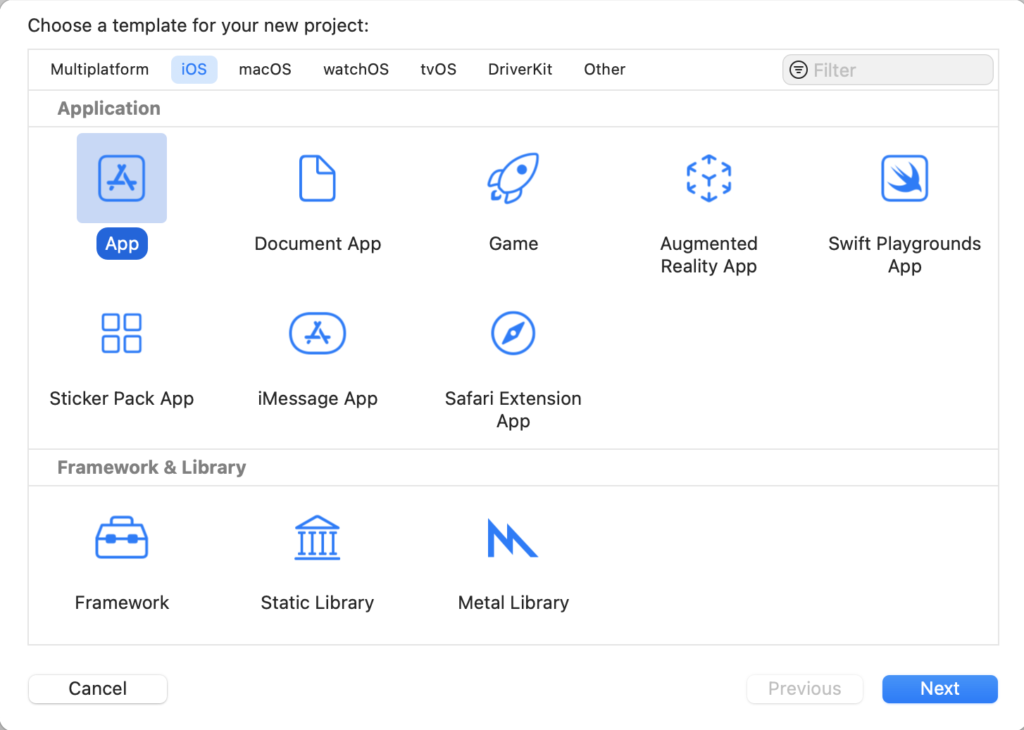
Click on Create a new Xcode project or press cmd+shift+n then this window will open, select application type App and click on next.
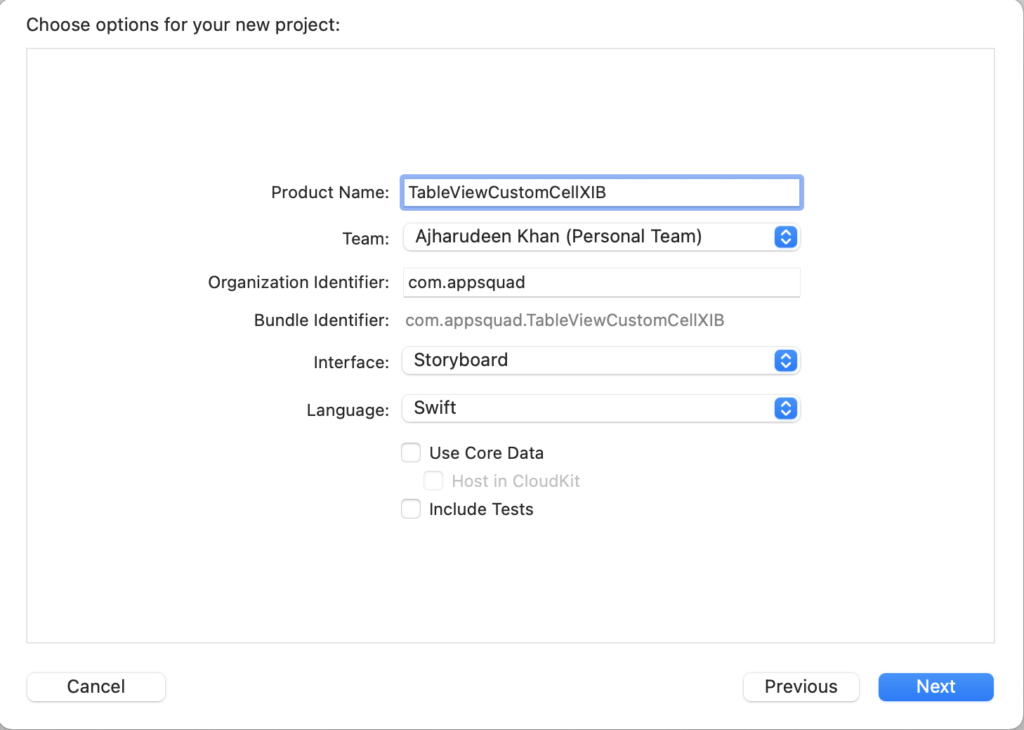
For the Product name enter "TableViewCustomCellXIB" enter the organisation identifier and select language to Swift and choose Next.
Now select main.storyboard, add TableView into ViewController and set top, bottom, left and right constraints to 0 after that set TableView delegate and data source and create an outlet of TableView.
IBOutlet weak var mcuMoviesListView: UITableView!Create two blank arrays, one for Movies titles and another for description
var mcuMoviesList = [String]()var mcuMoviesDesc = [String]()
It’s time to setup some dummy data that need to be displayed in mcuMoviesListView.
mcuMoviesList = ["Captain America - The First Avenger", "Captain Marvel", "Iron Man", "Iron Man 2", "Thor", "The Avengers", "Thor - The Dark World", "Iron Man 3",]mcuMoviesDesc = ["After being injected with a special \"Super-Soldier\" serum which leads to him developing superpowers Steve must thwart the plans of a warmonger.","Carol Danvers becomes one of the universe’s most powerful heroes when Earth is caught in the middle of a galactic war between two alien races.","An industrialist constructs a high-tech armoured and decides to use his suit to fight against evil forces and save the world.","Tony Stark is under pressure from various sources, to share his technology with the world. And, he needs to find a way to deal with his enemies.","The powerful, but arrogant god Thor, is cast out of Asgard to live amongst humans in Midgard (Earth), where he soon becomes one of their finest defenders.","Nick Fury finds himself in need of a team to pull the world back from the brink of disaster by launching the Avengers initiative.","Thor sets out on a journey to defeat Malekith, the leader of the Dark Elves when he returns to Asgard to fulfil his desire of destroying the Nine Realms.","Tony Stark encounters a formidable foe called the Mandarin, and after failing to him, he embarks on a journey with relentless consequences."];
Create Custom Cell with XIB
Click on File->New-> File then this window will open
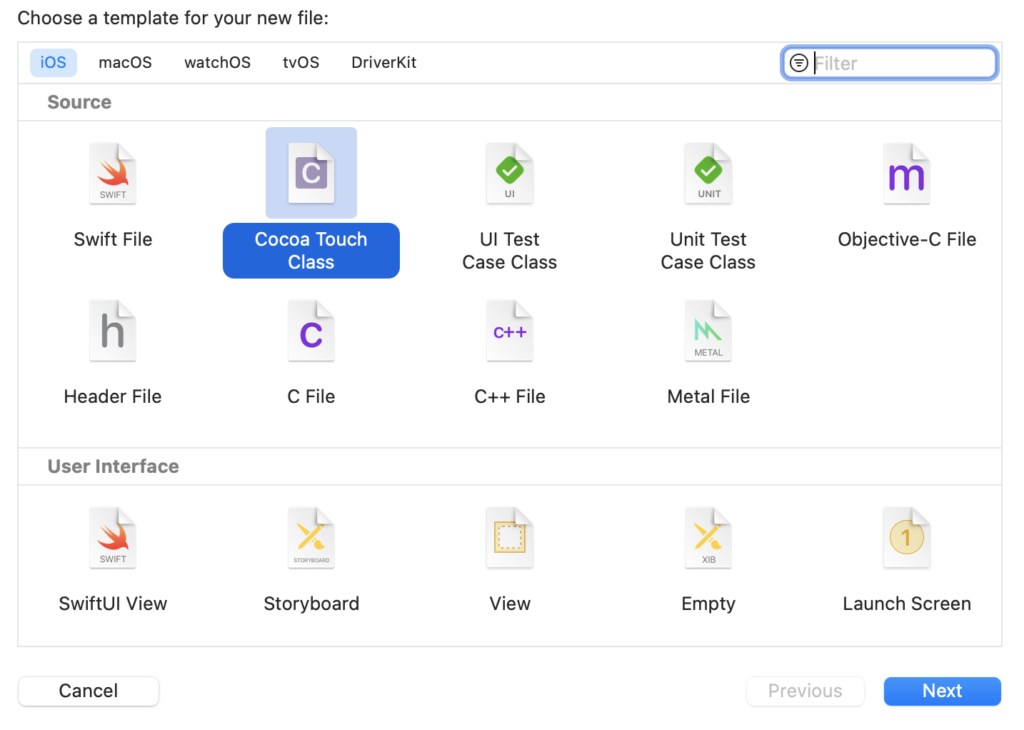
Select Cocoa Touch Class and click on next
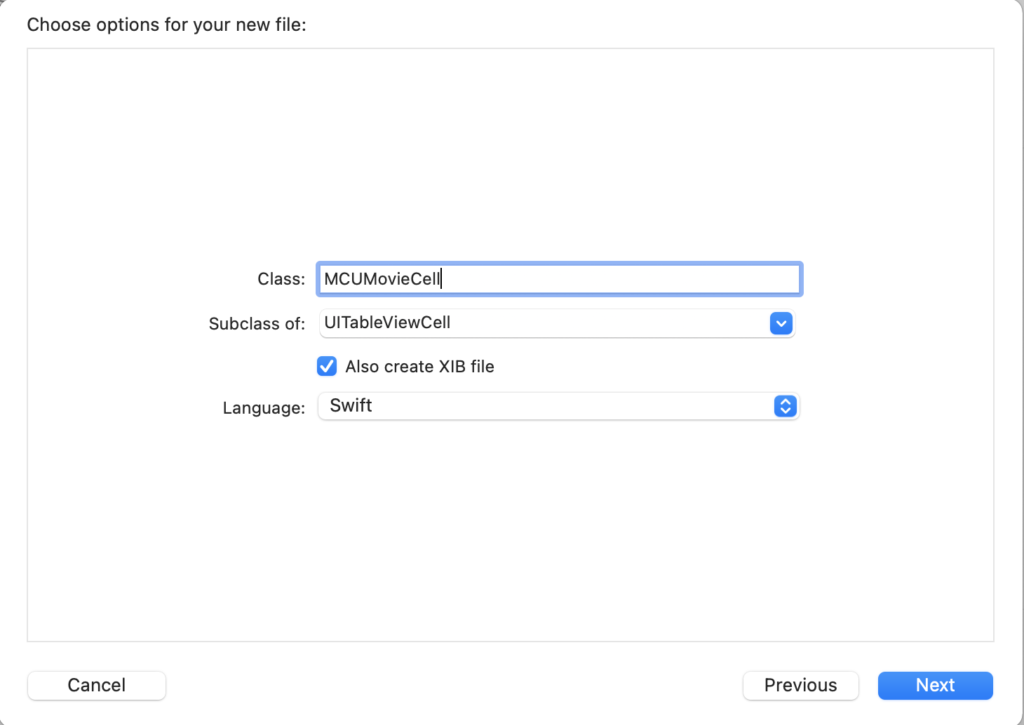
Now enter the class name “MCUMovieCell” and set the subclass of UITableViewCell and also check to Also create XIB file this will create a UITableViewCell XIB(nib) with the same name.
Now add two UILabels to show the Movie title and description and one UIImageView to show the movie poster as shown below.
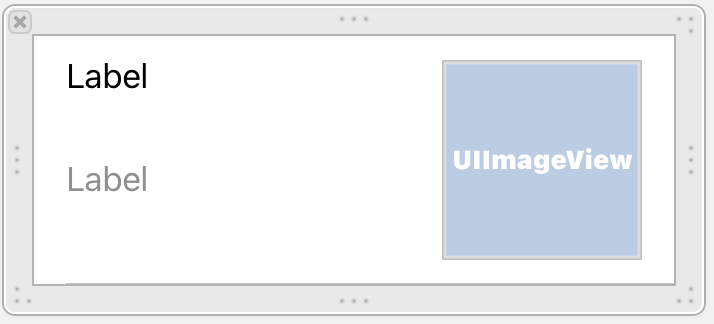
After adding UIElements add Auto Layout constraints.
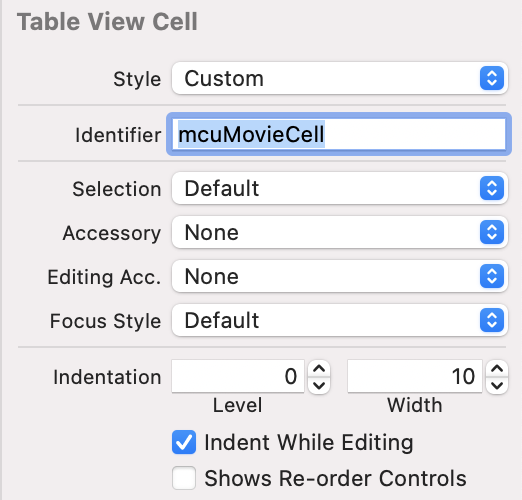
Set the ReuseIdentifier “mcuMovieCell” to TableViewCell as shown below.
Please check MCUMovieCell.xib assigned class it should be MCUMovieCell after that create outlets of all UIElements.
Configure Custom Cell
    @IBOutlet weak var titleLabel: UILabel!
    @IBOutlet weak var detailLabel: UILabel!
    @IBOutlet weak var posterImage: UIImageView!
Open ViewController.swift class and confirm UITableViewDelegate and UITableViewDataSource
class ViewController: UIViewController,UITableViewDelegate, UITableViewDataSourceNow it’s time to configure the numberOfRowsInSection, it will return how many cells TableView will display in our case it’s mcuMoviesList.count
    func tableView(_ tableView: UITableView, numberOfRowsInSection section: Int) -> Int {
        mcuMoviesList.count
    }
Now we need to configure cellForRowAt, it will return the cell that will visible to TableView.
First of all, create a TableViewCell instance using dequeueReusableCell and pass the same Reuse Identifier that we set previously in MCUMovieCell.xib.
let movieCell = tableView.dequeueReusableCell(withIdentifier: "mcuMovieCell", for: indexPath)The dequeueReusableCell(withIdentifier: for:) method returns a reusable cell located by our previously defined identifier. The cell is then filled with the current index of our array, the index is from the index path of the Table View.
We are using the custom Cell So we need to unwrap UITableViewCelll as MCUMovieCell.
let movieCell = tableView.dequeueReusableCell(withIdentifier: "mcuMovieCell", for: indexPath) as? MCUMovieCell
Assign titleLabel.text value to MCU Movie name
movieCell?.titleLabel.text = mcuMoviesList[indexPath.row]Now set detailLabel.text from mcuMoviesDesc array.
movieCell?.detailLabel.text = mcuMoviesDesc[indexPath.row]Set the Poster Image as shown below.
movieCell?.posterImage.image = UIImage.init(named: mcuMoviesList[indexPath.row])Finally, return the fill Cell for the indexpath shown on TableView.
return movieCell!Now build and run the app, Holy Shit what just happed.

I Know, I Know the application just got crashed.
“We need to register nib to use to dequeue a cell with identifier mcuMovieCell “
I can just register nib before but maybe you never notice the importance of this, without registering nib we con not use nib(XIB) for cell.
Open ViewController.swift, In ViewDidLoad register the nib as shown below.
mcuMoviesListView.register(UINib.init(nibName: "MCUMovieCell", bundle: nil), forCellReuseIdentifier: "mcuMovieCell")Now build and run the app, It’s working absolutely fine and now showing all the provided records in TableView.
Summary
You can find the full source code for this tutorial here.
Thank you very much for your precious time.
Hope you guys enjoy it.
Let me know your thoughts in the comment section.
Extend your knowledge
- Chapter 1: TableView Basic Implementation
- Chapter 2: TableView Custom Prototype Cell
The Twitter contact:
Any questions? You can get in touch with me here


One thought on “TableView: Custom Cell Implementation With XIB(nib)”